Lorac Pro Conceal/ Contour Review

This post contains affiliate links. Please read my disclaimer for more information.

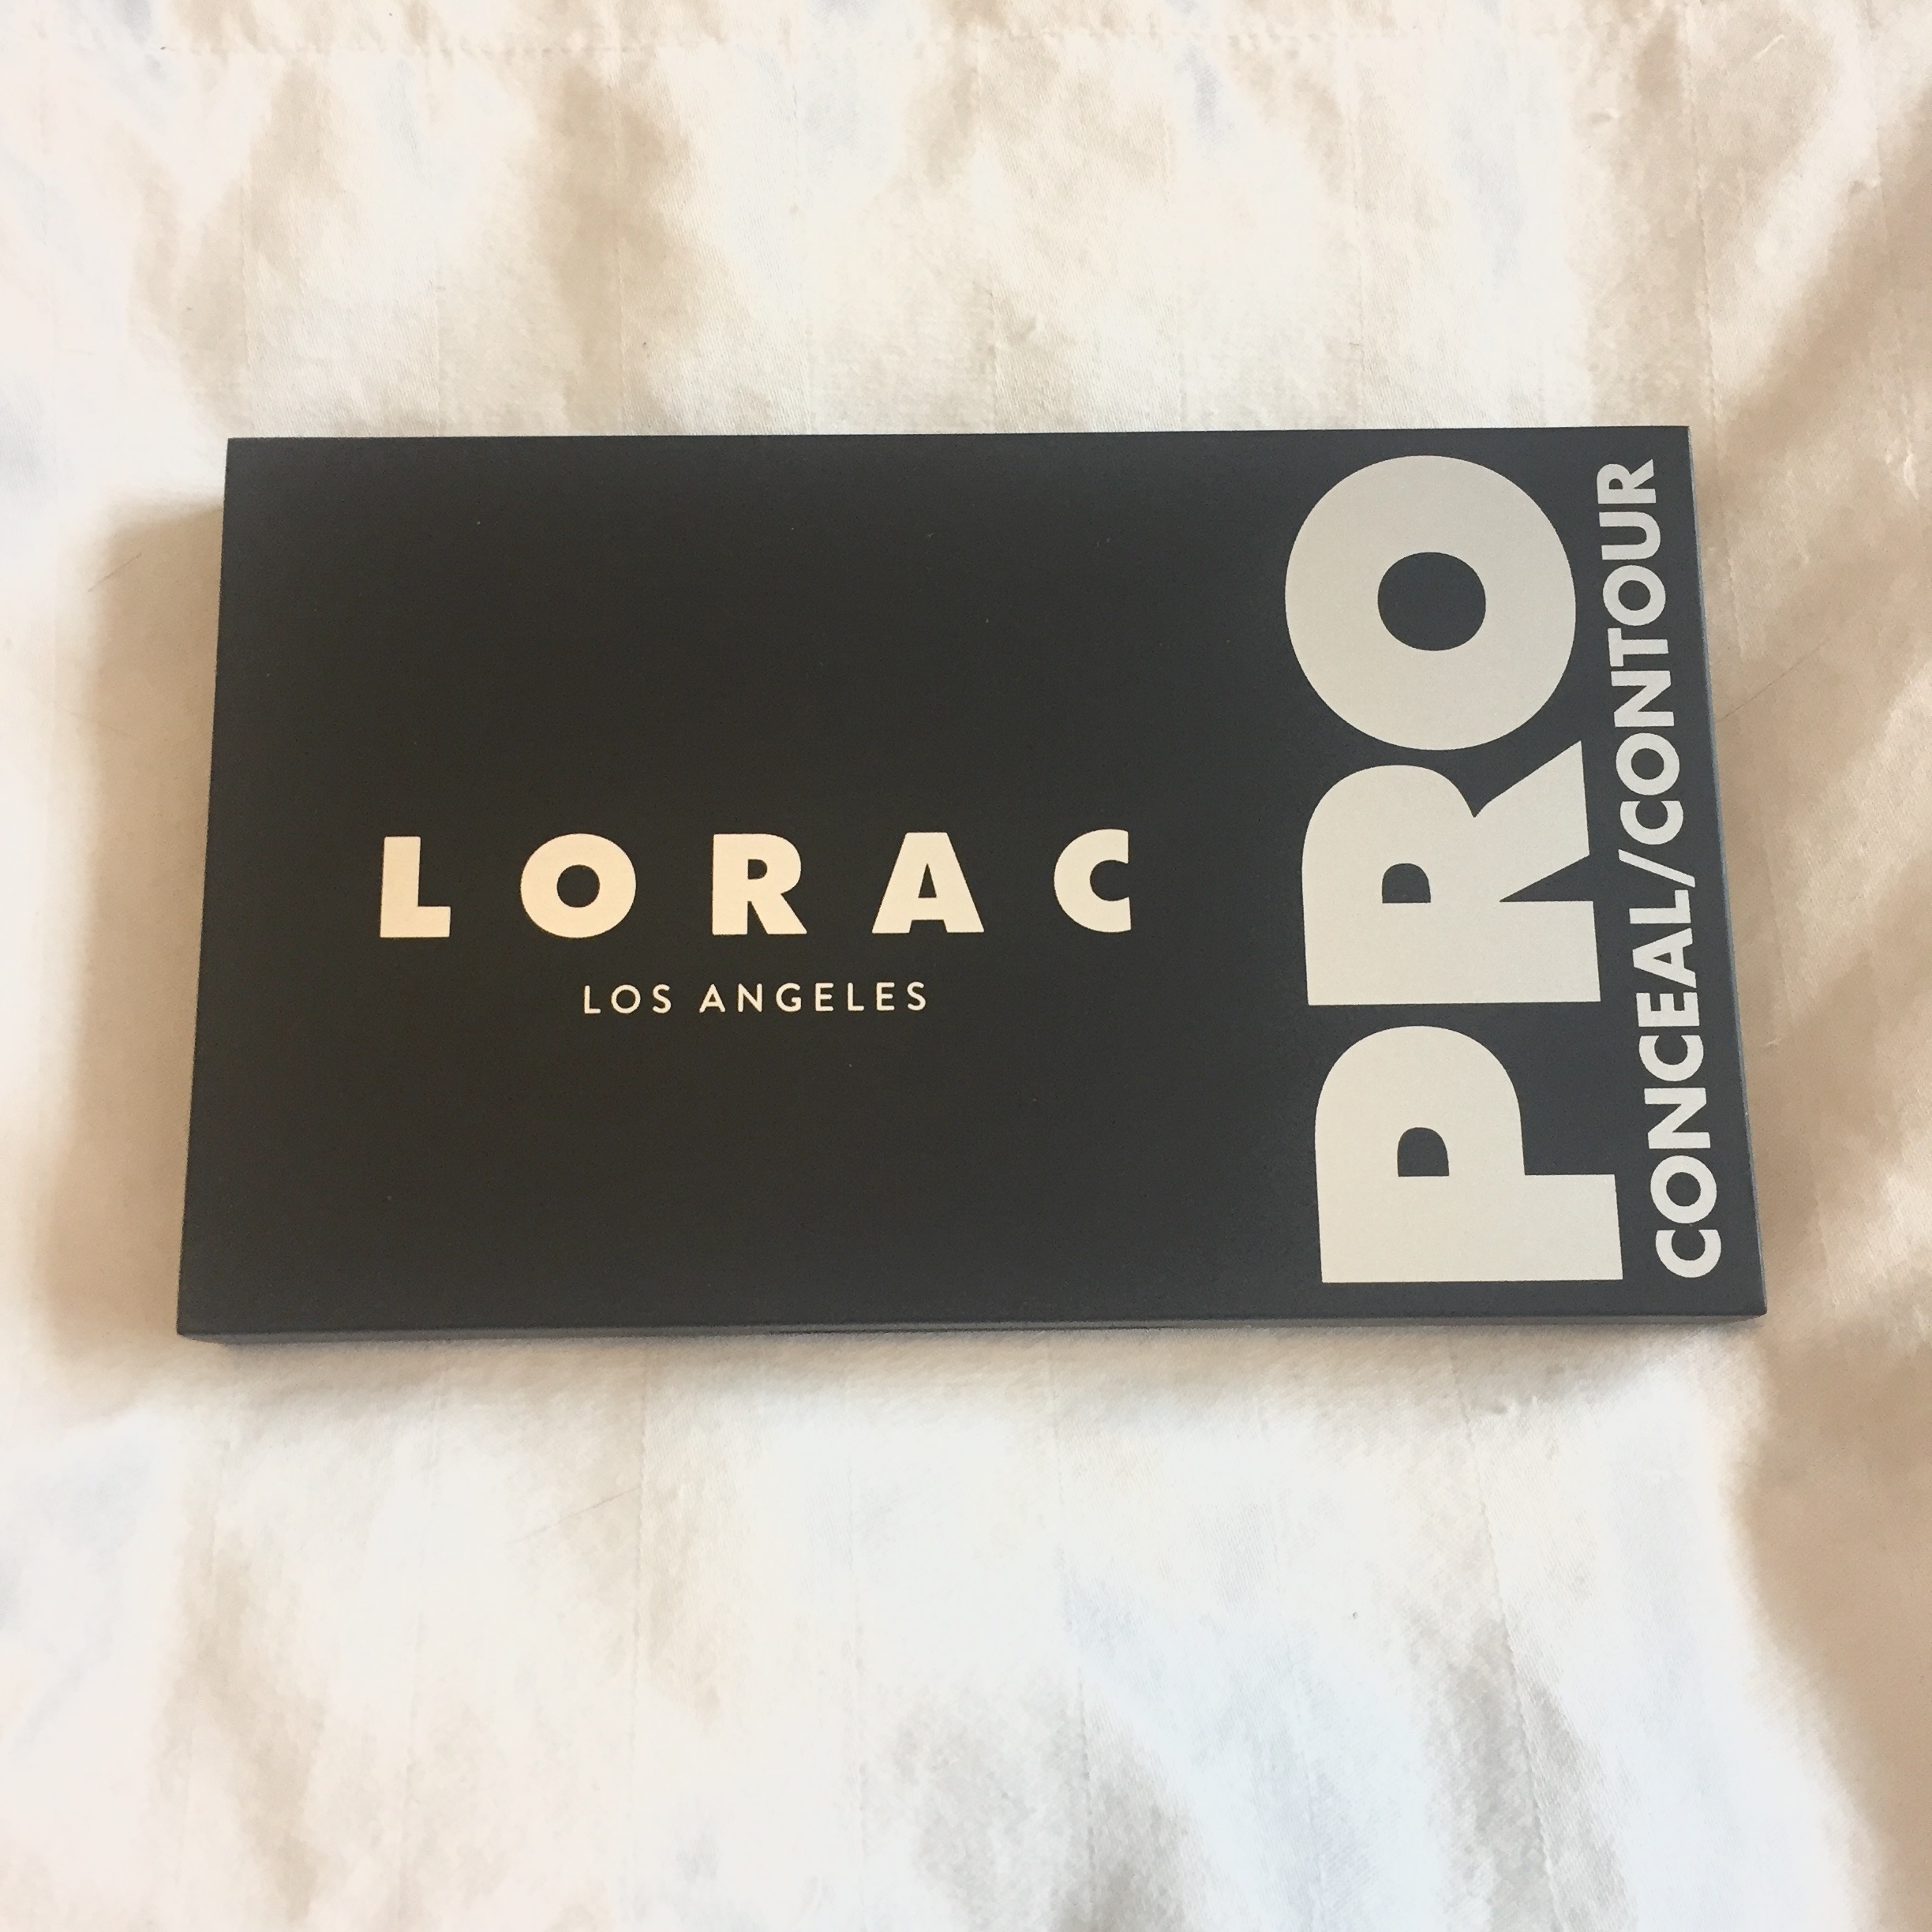
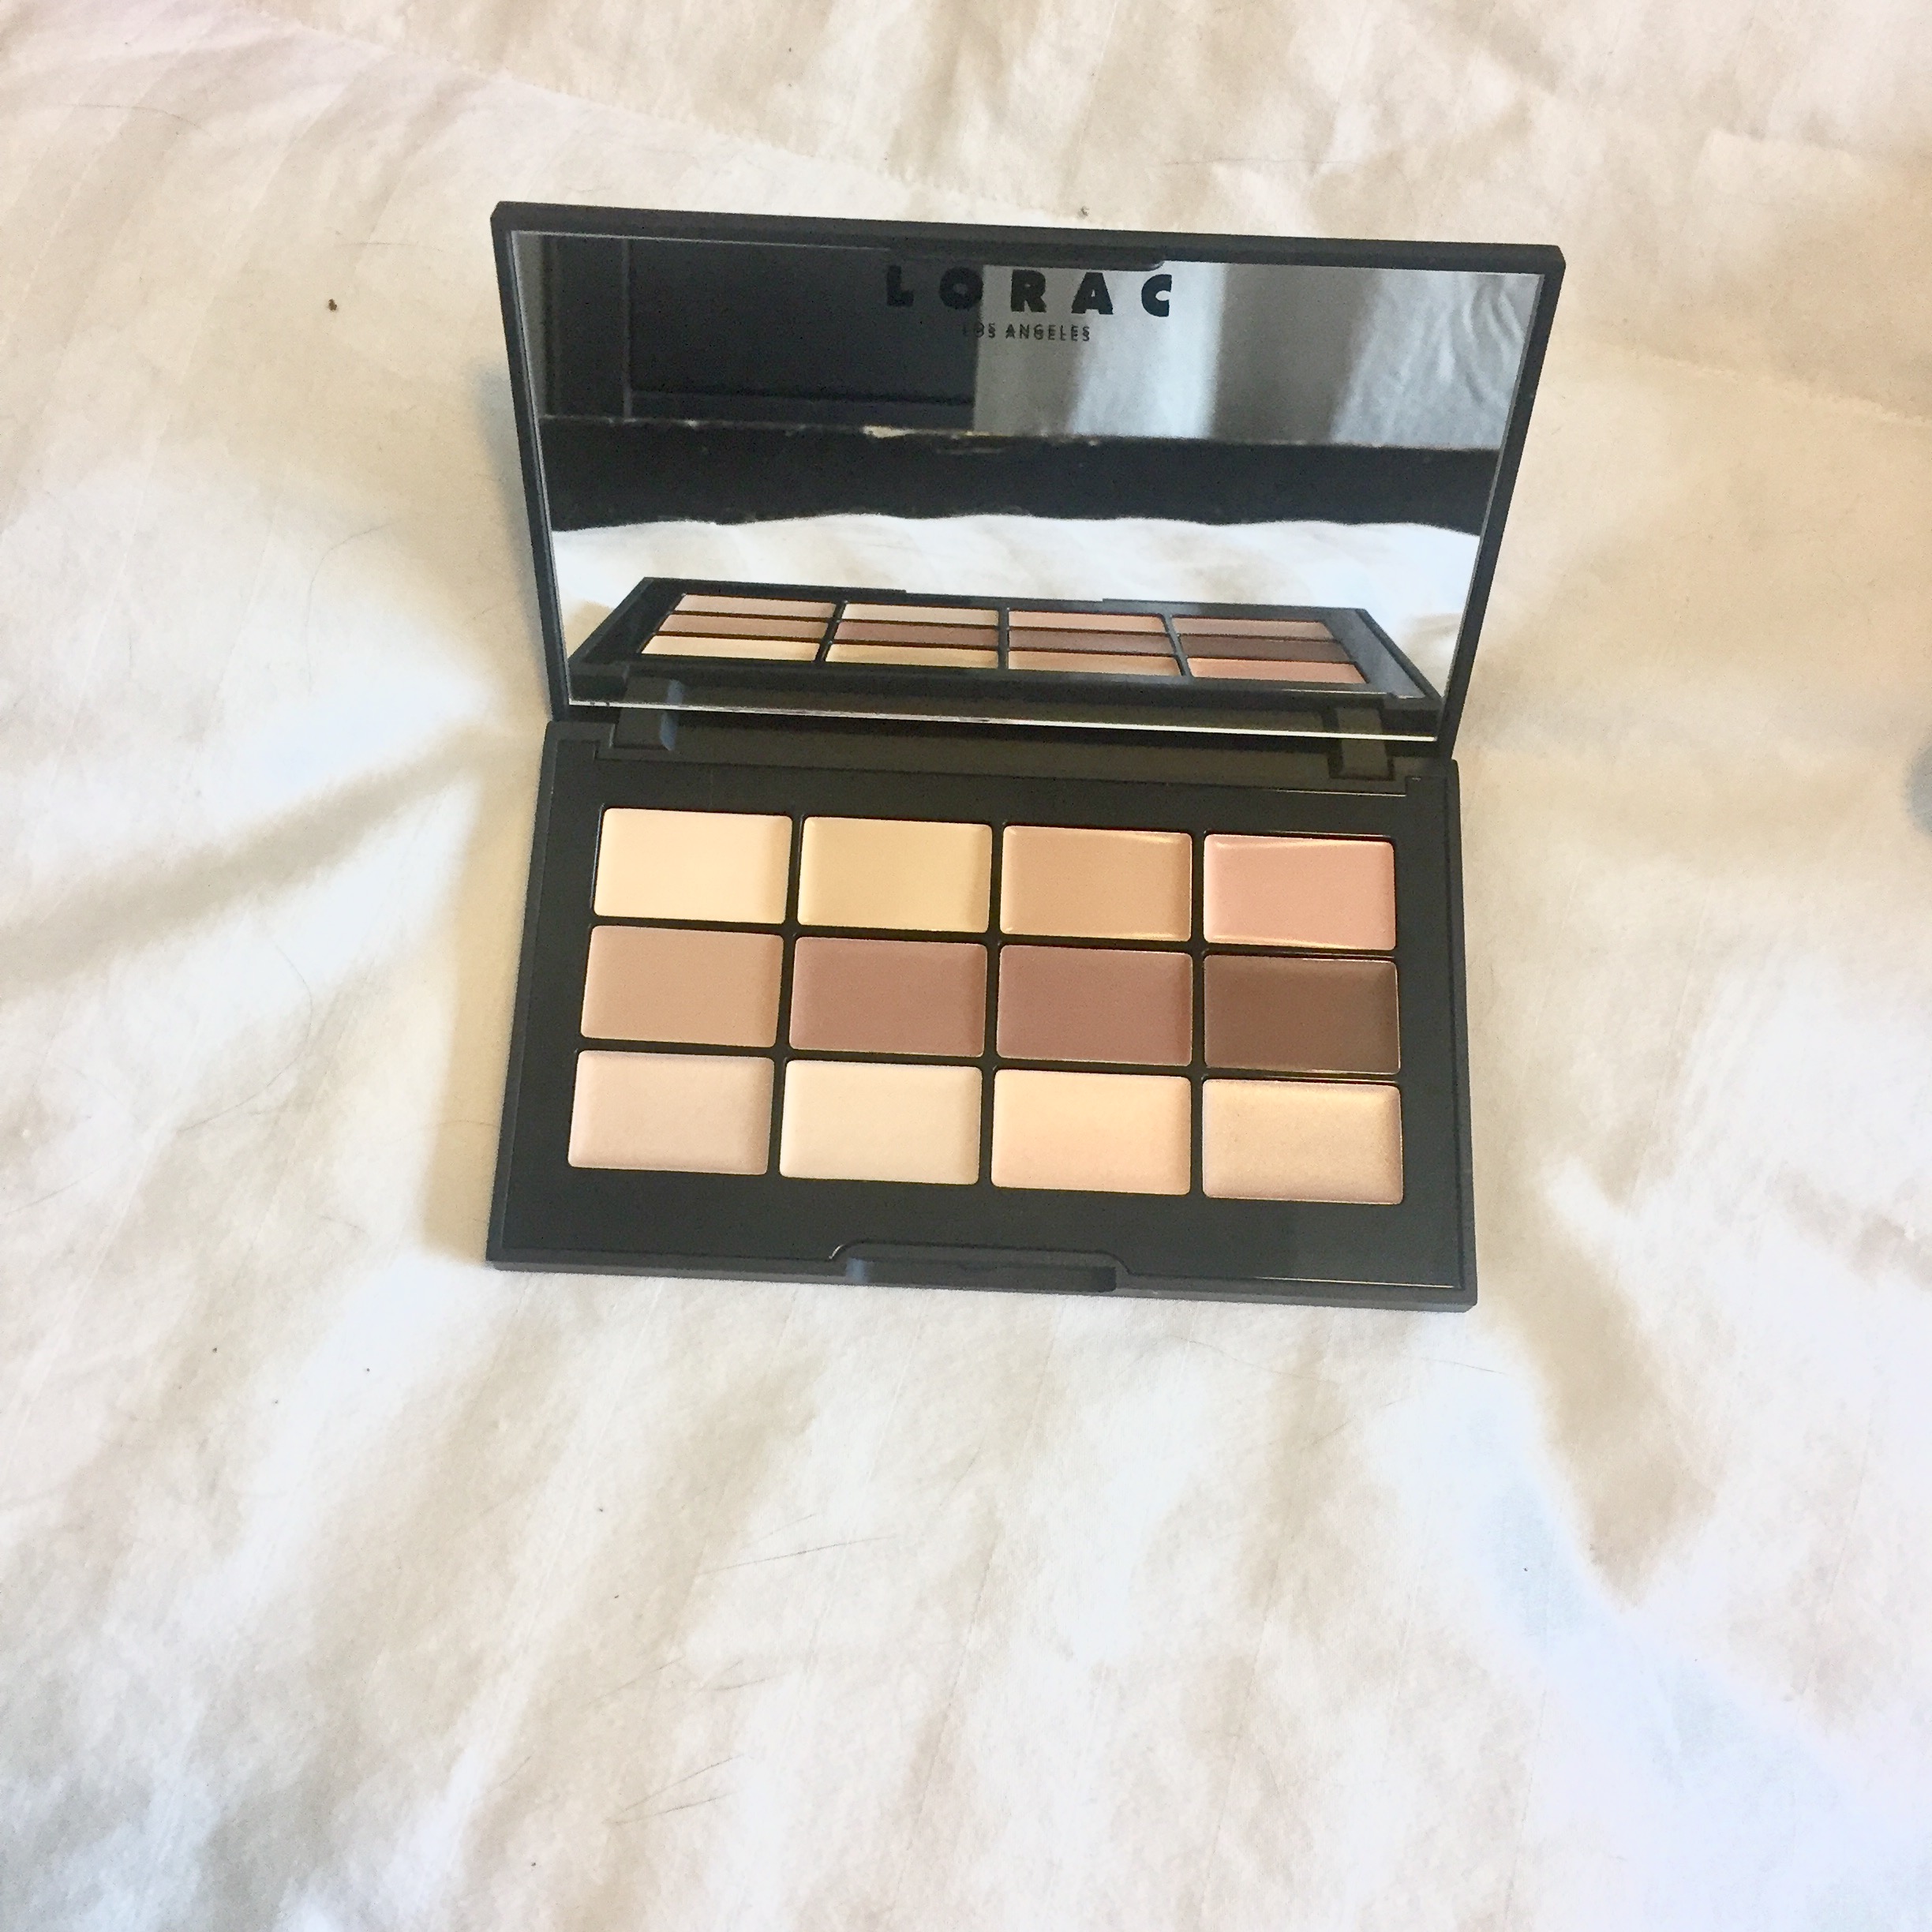
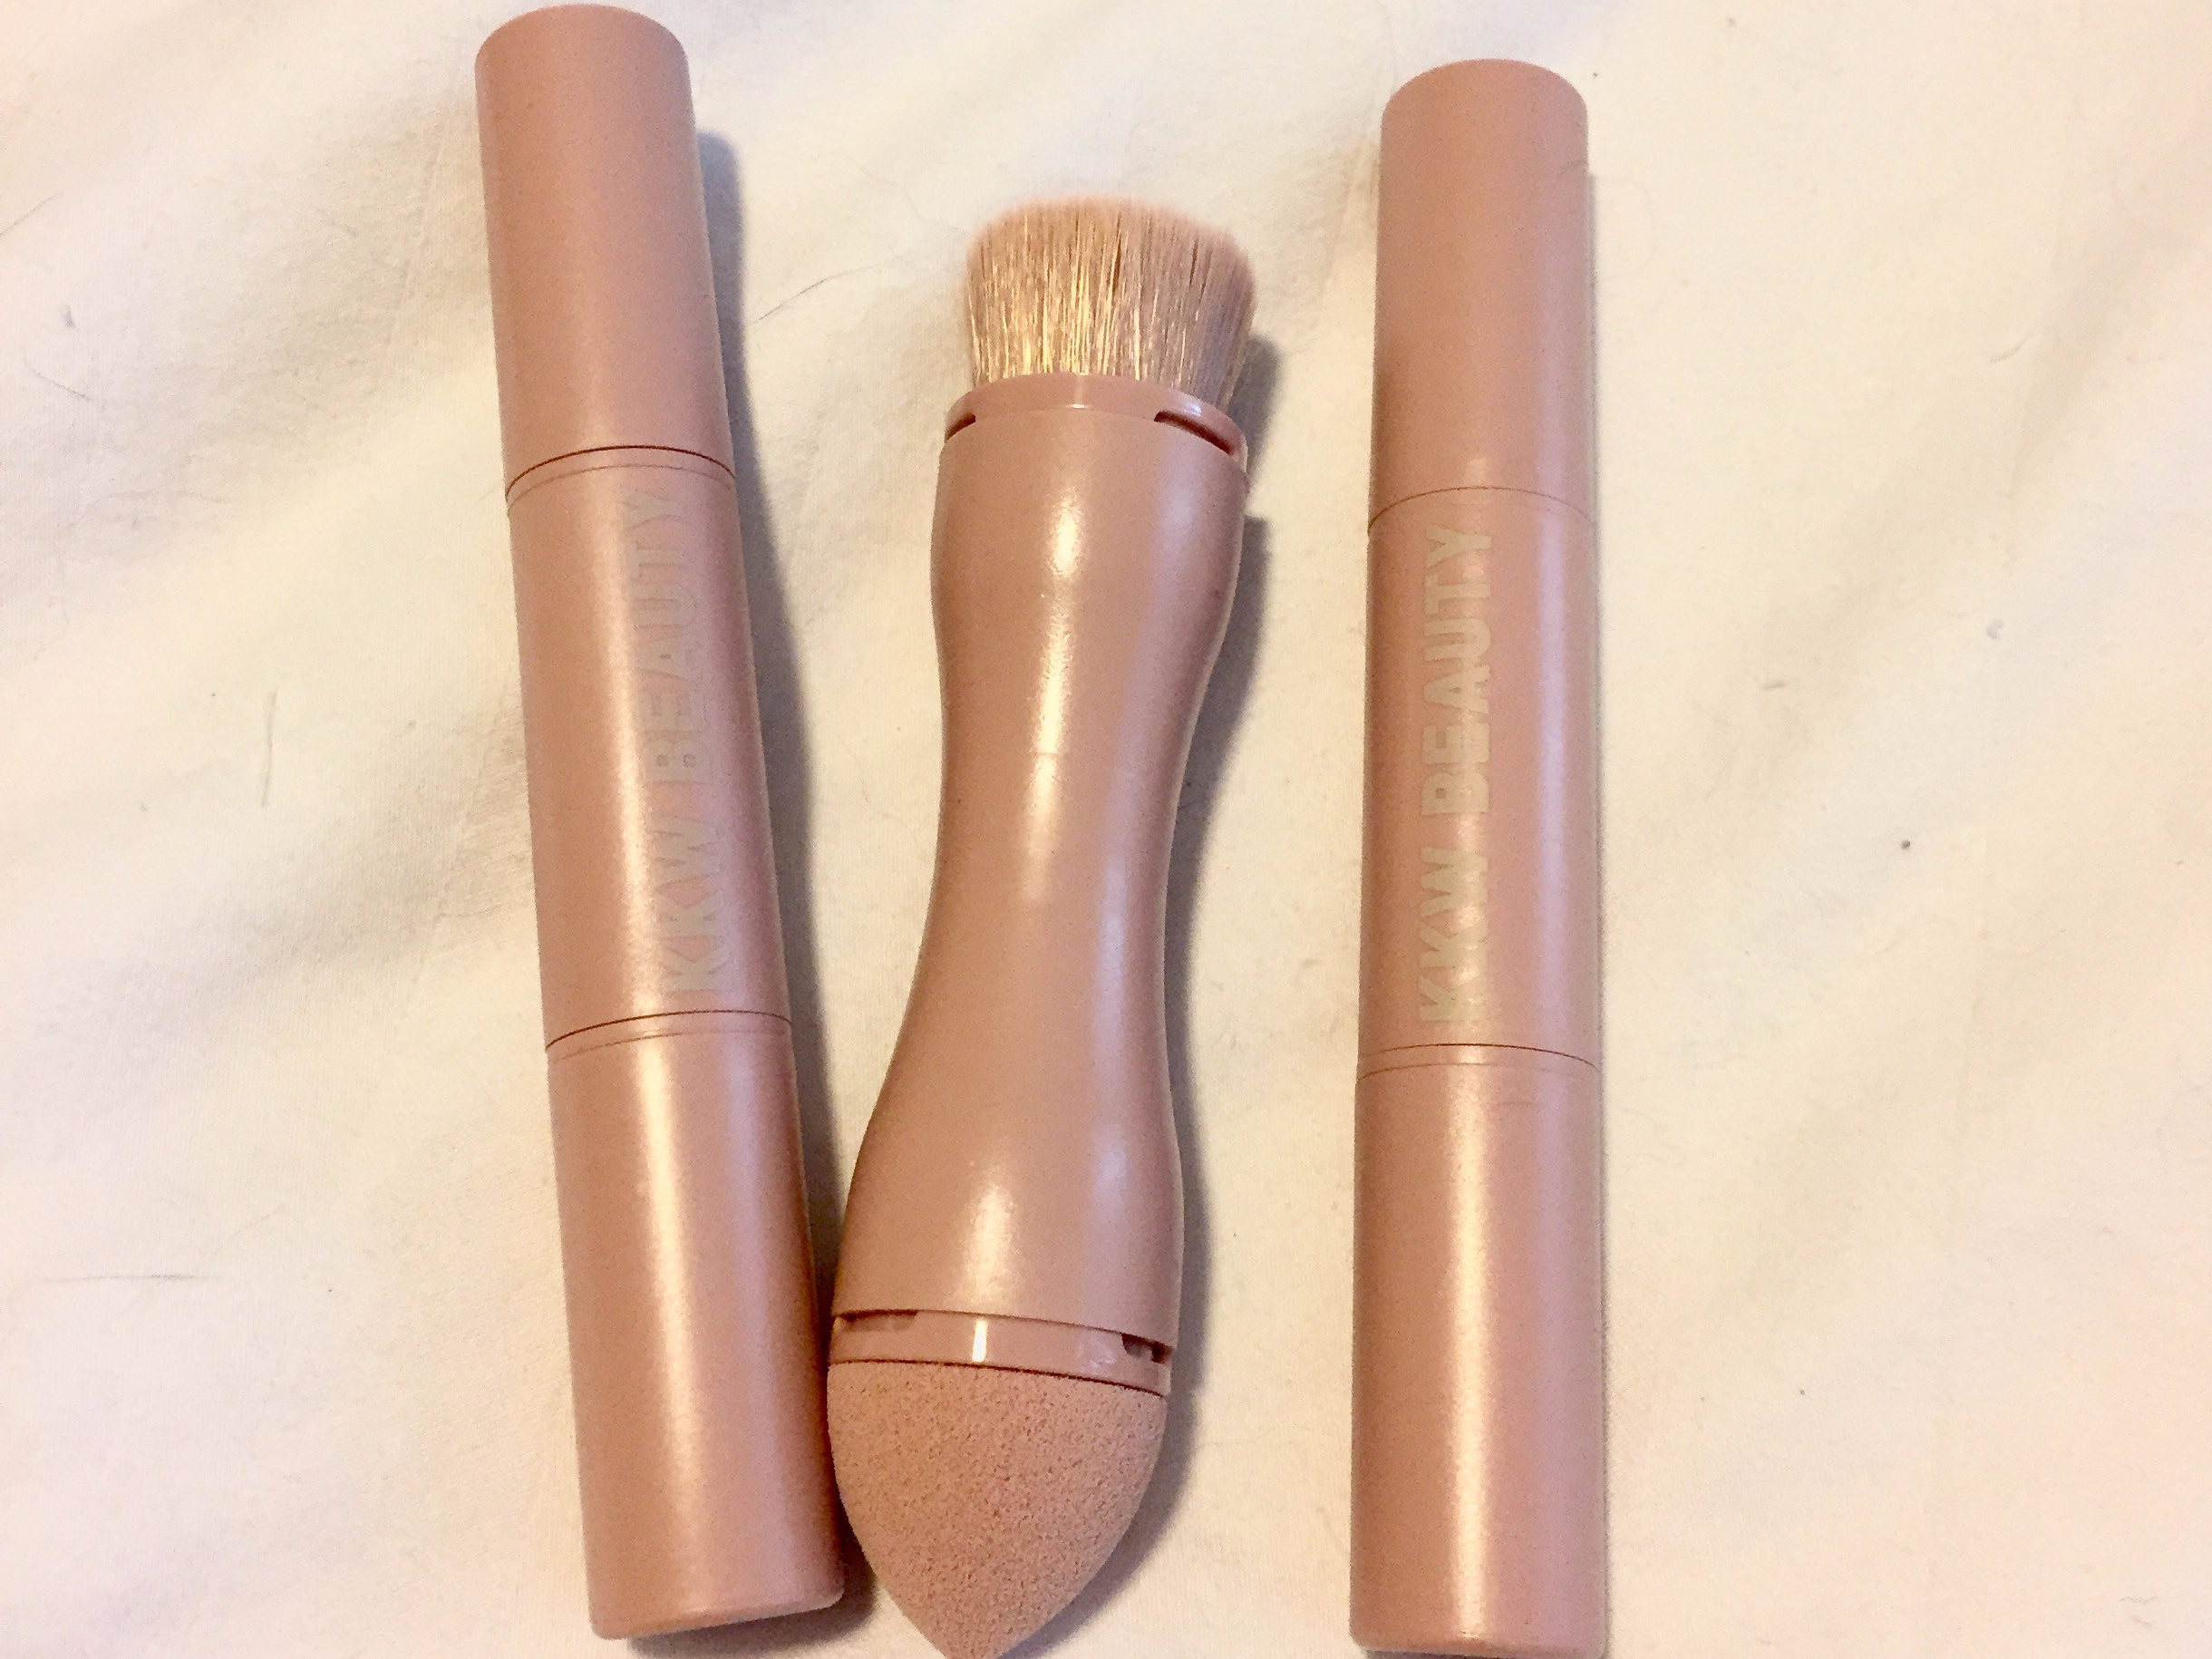
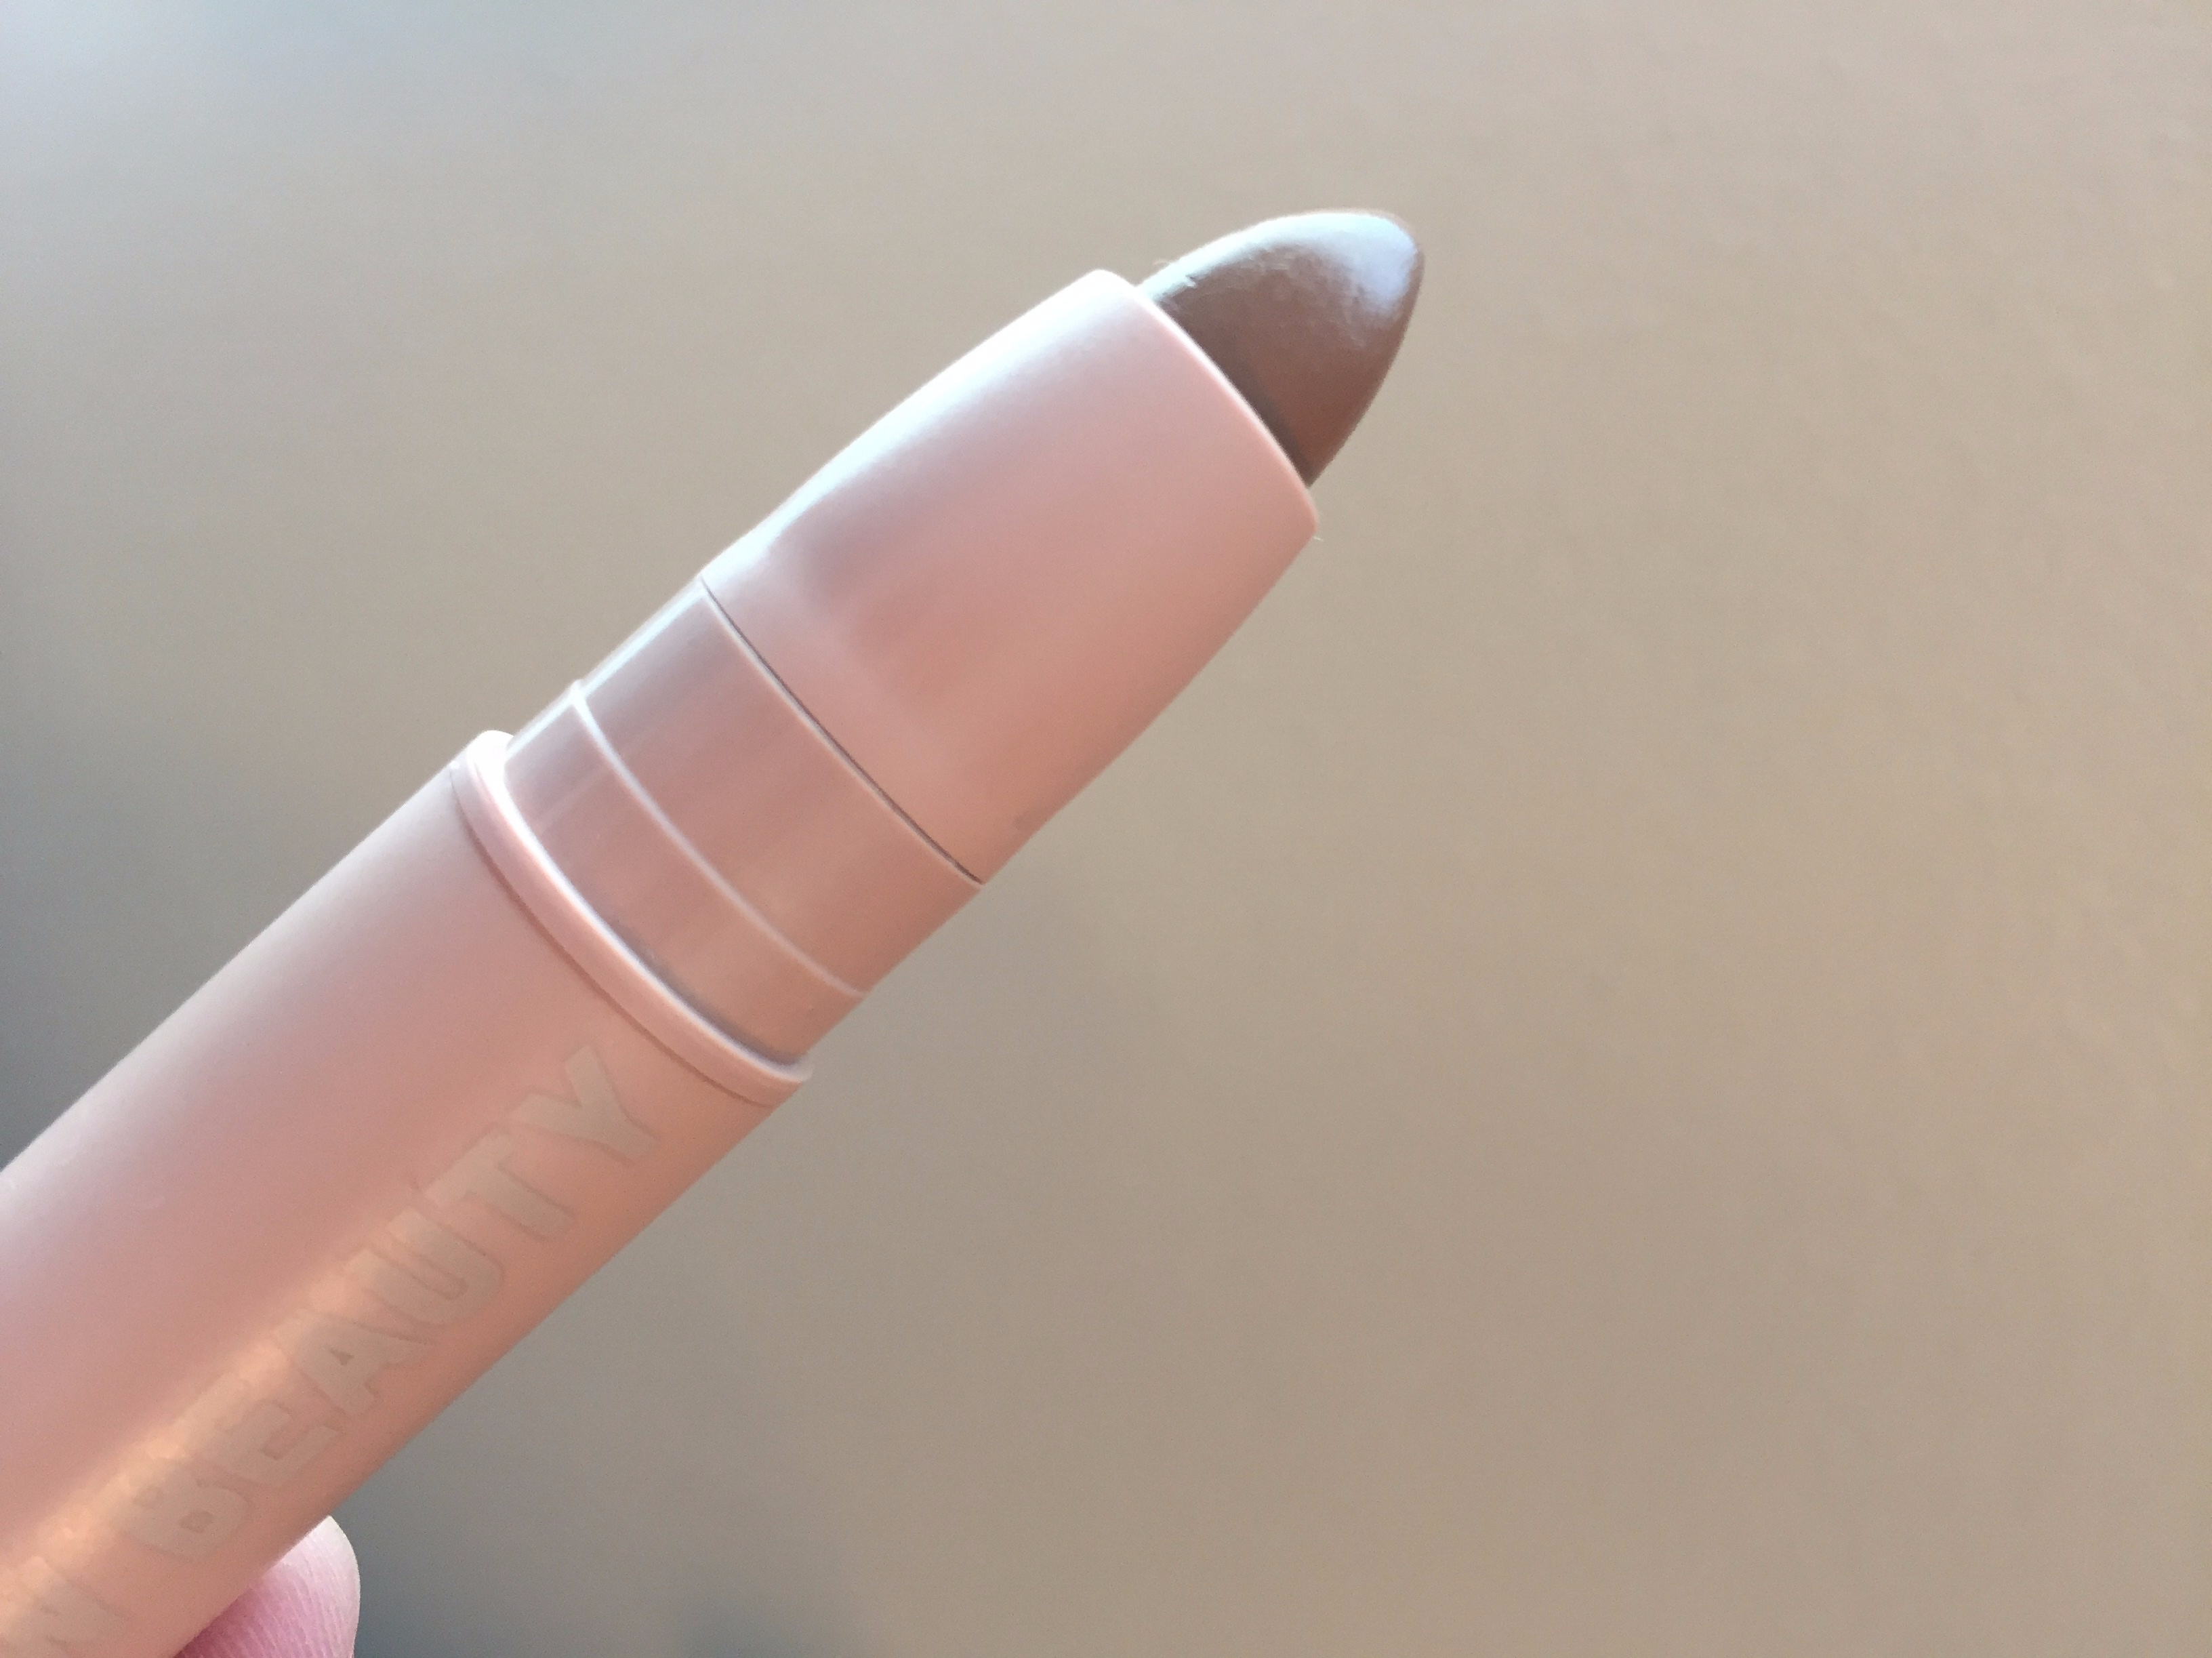
Truth be told, I meant to purchase the Lorac contour POWDER palette but I accidentally purchased this cream contour kit instead. This palette includes 8 conceal/contour shades and 4 shimmer highlight shades. The kit also includes a double ended brush and retails for $45. If you are so inclined, you can buy this kit at Ulta here. After the failure of the Kim Kardashian contour sticks (if you missed my review, you can read it here,) I was determined to find a contour palette that worked for me. So, off I went to Ulta and purchased this one by mistake.

Lorac Pro Conceal/Contour Review

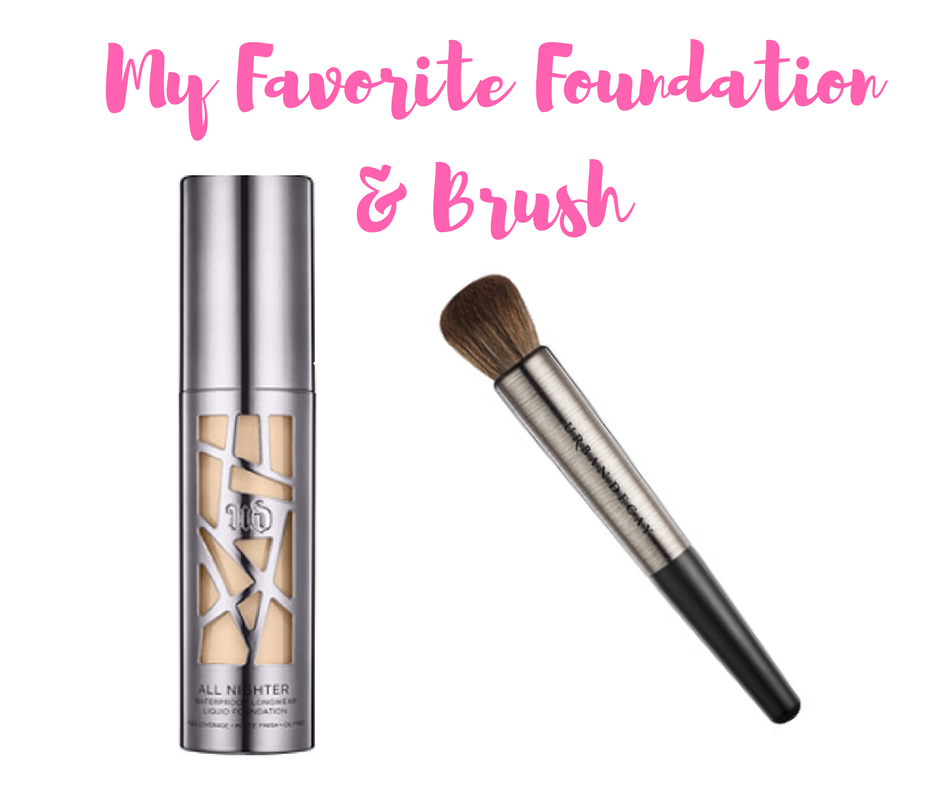
In order to use this palette, I first prepped my skin with moisturizer and applied my favorite,  Urban Decay All Nighter Liquid Foundation in shade 3.25 with the Urban Decay Pro Optical Blurring Brush.

My Favorite Foundation & Brush.png

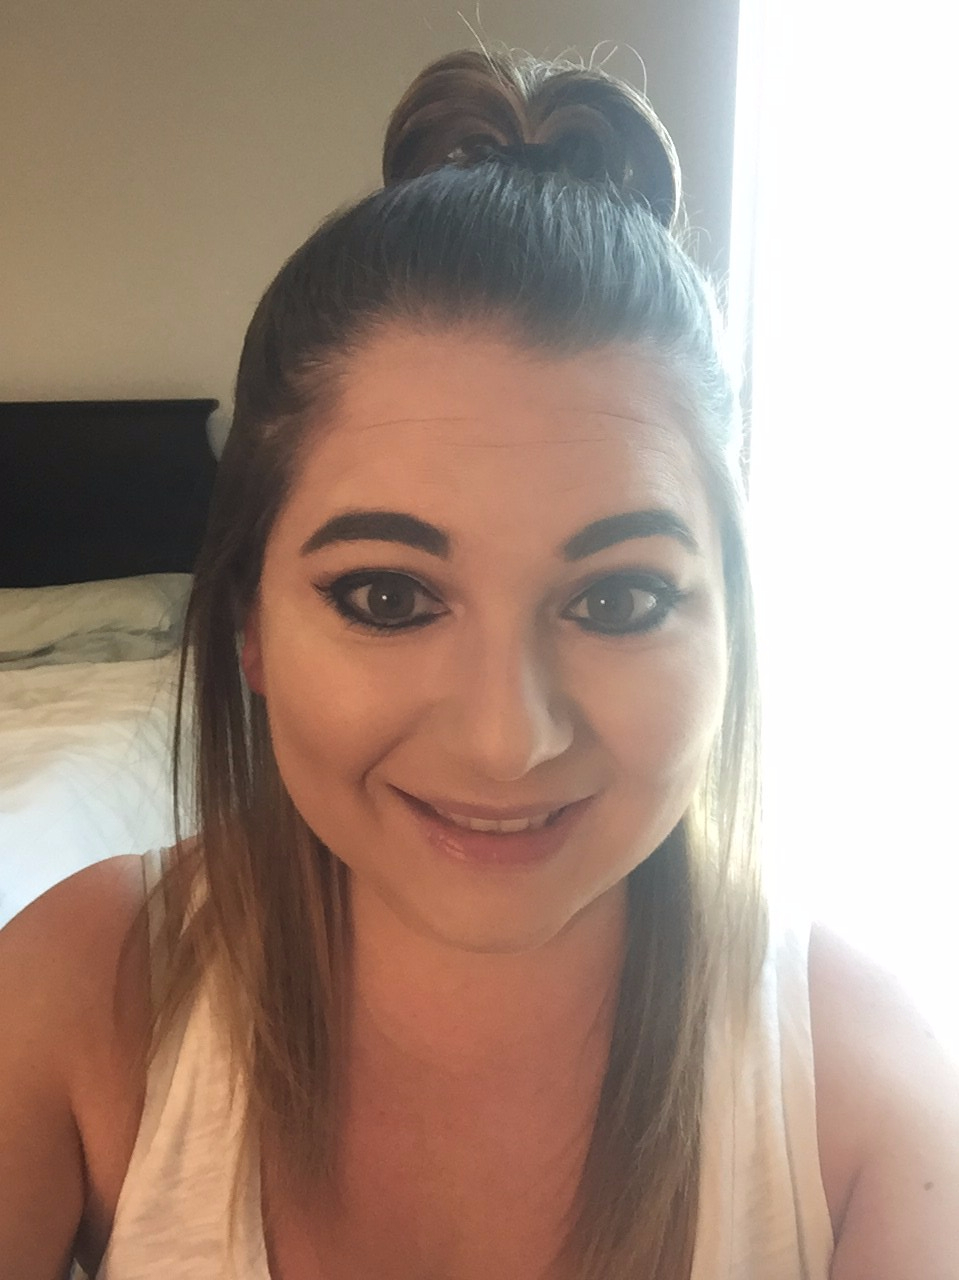
Here’s a look at my face without any contour. Boring, right?

FullSizeRender (11).jpg

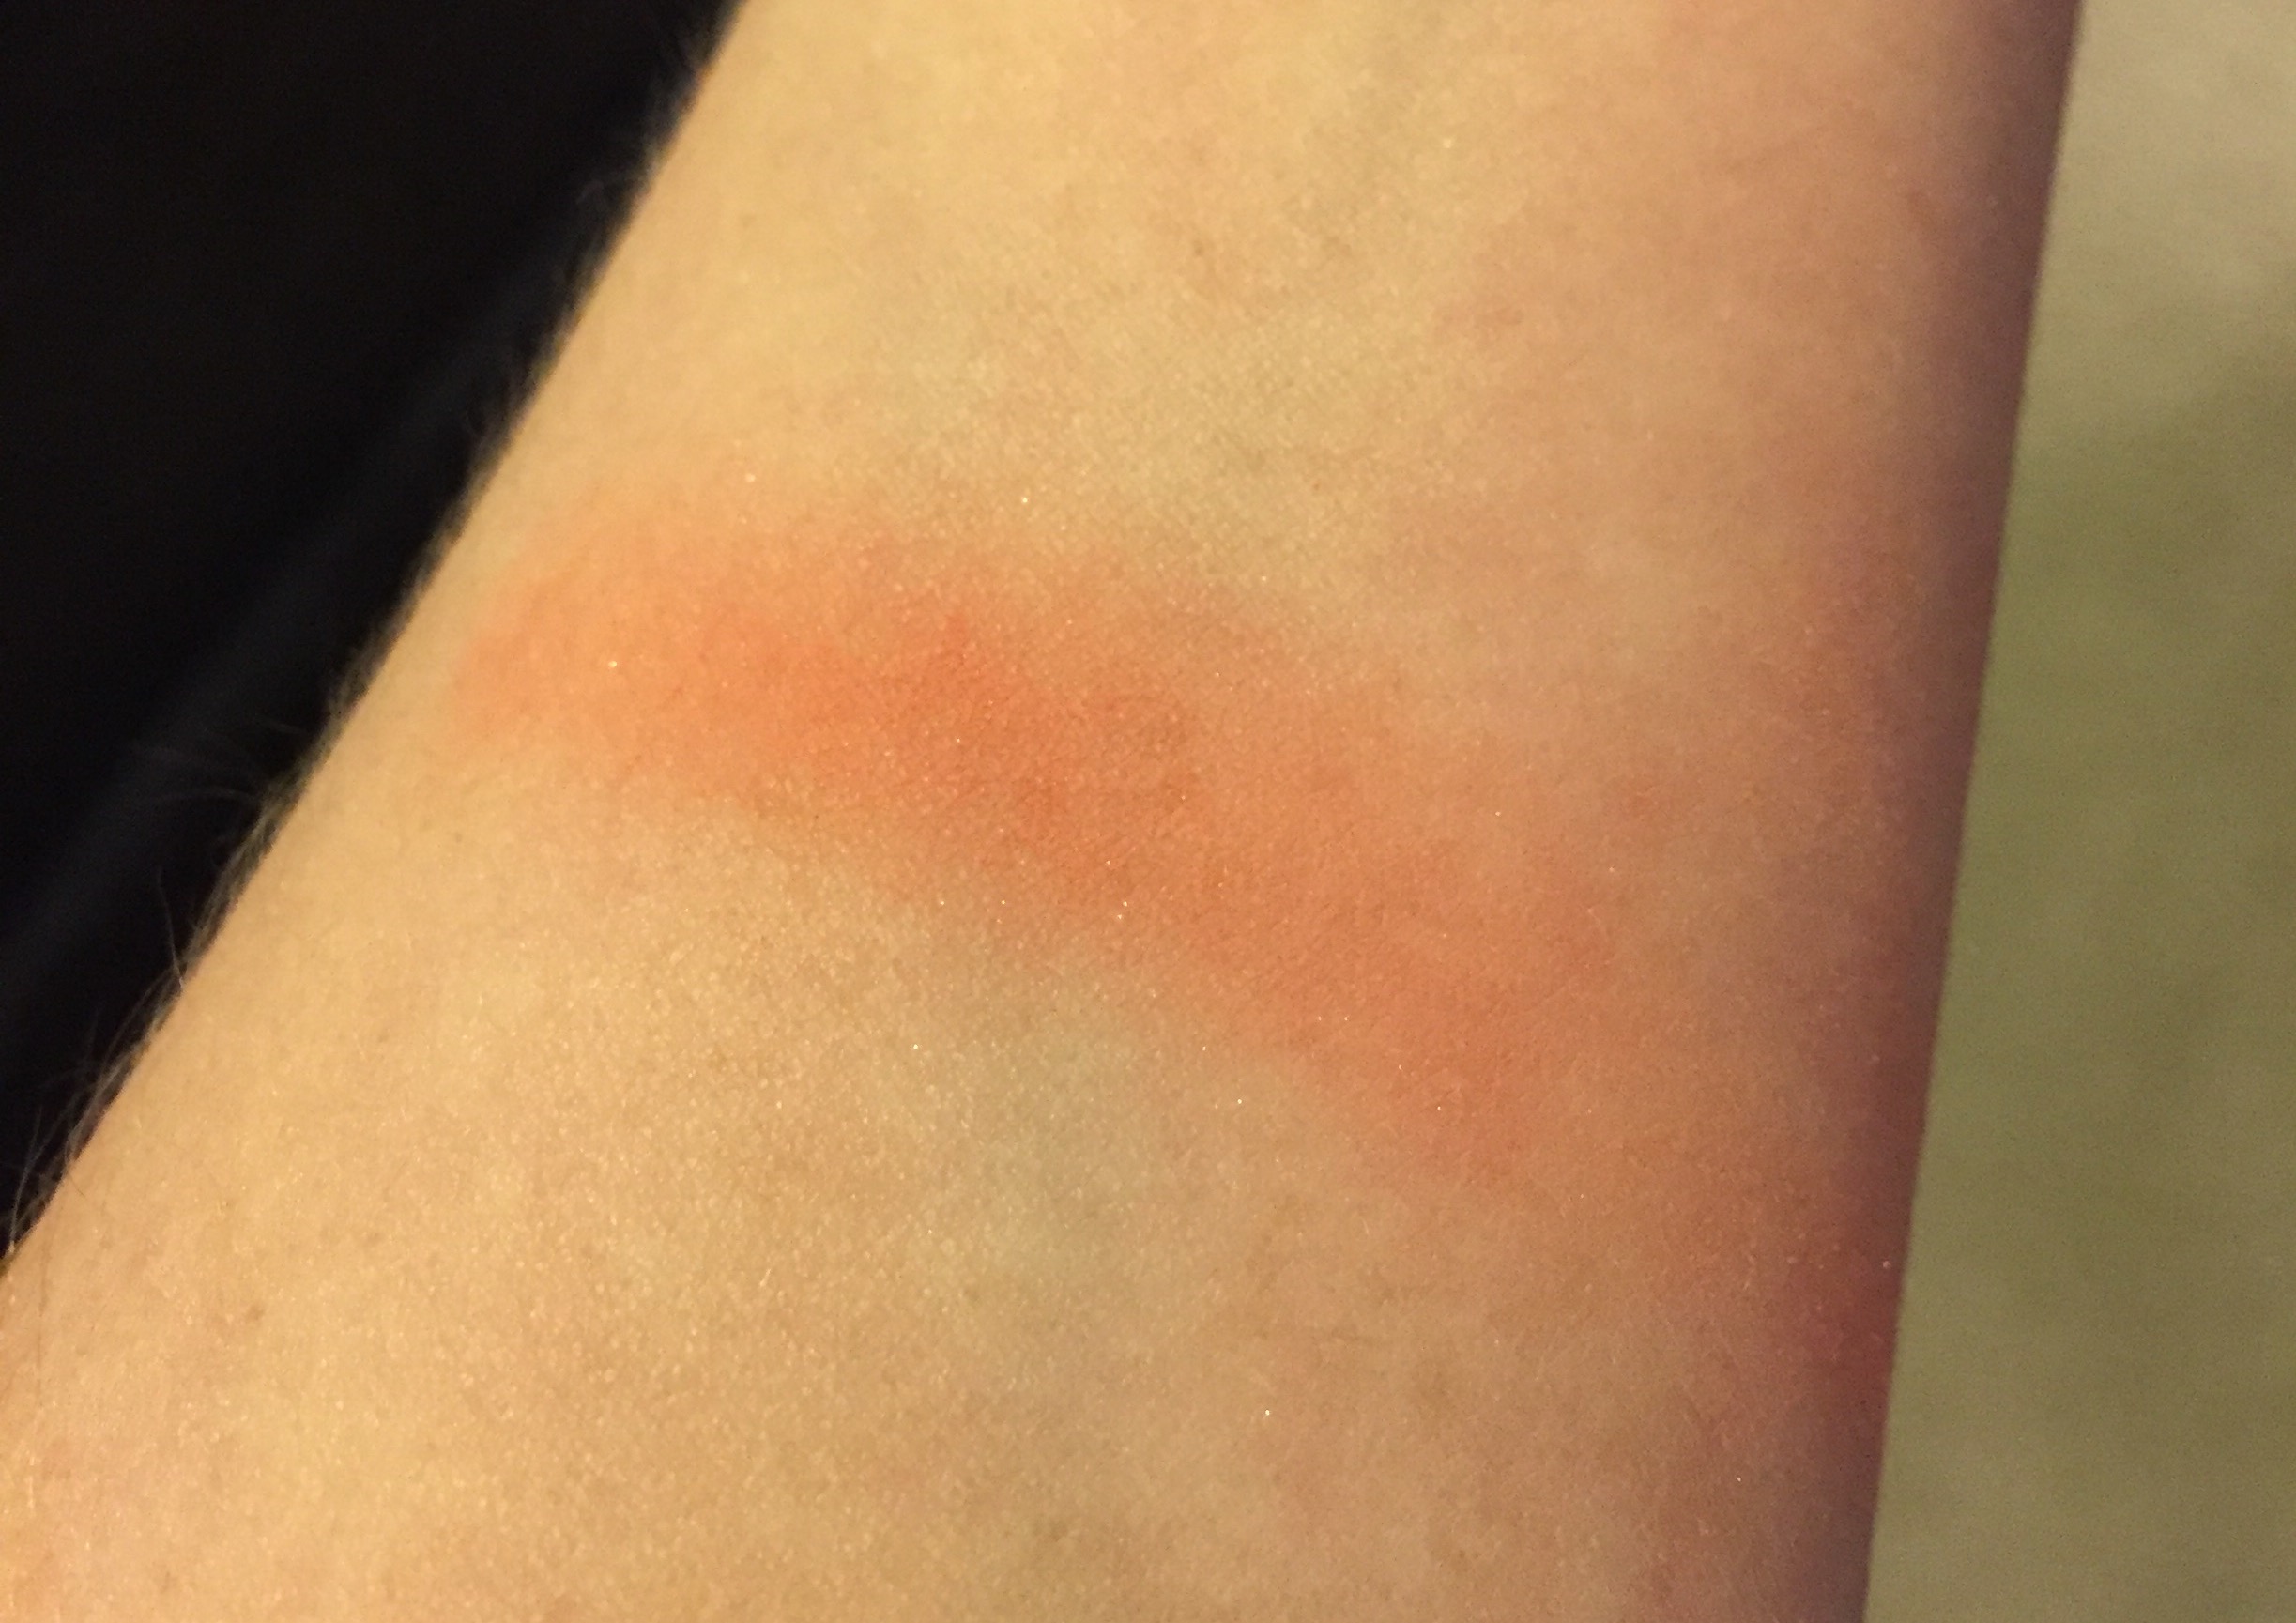
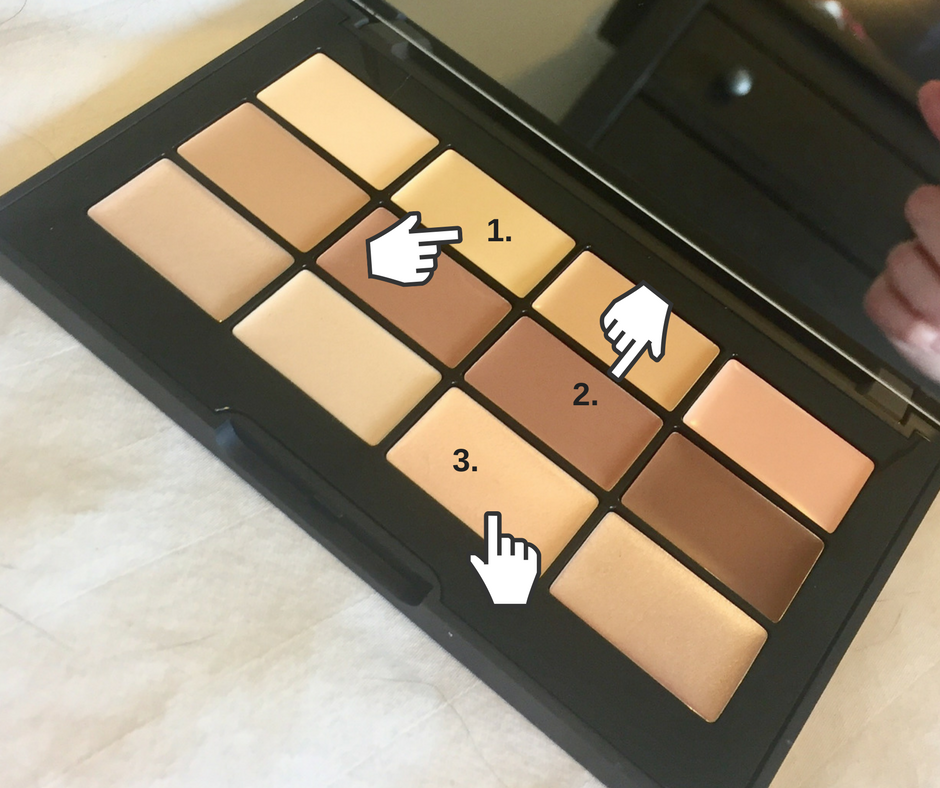
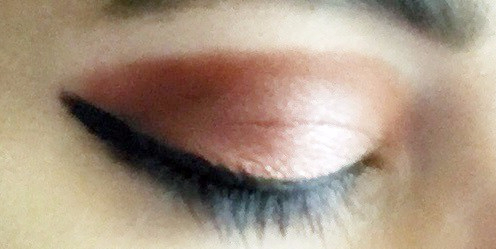
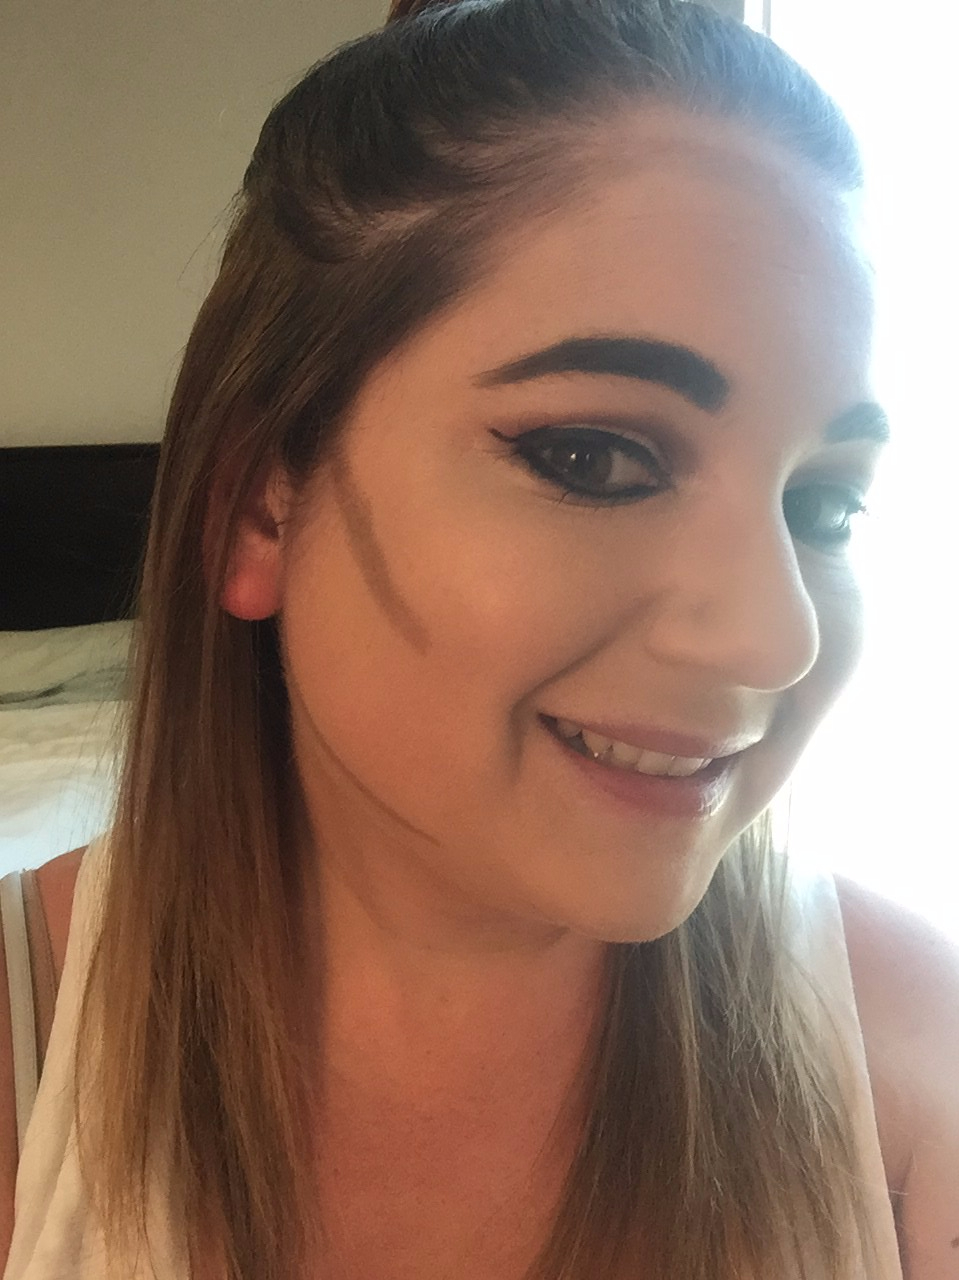
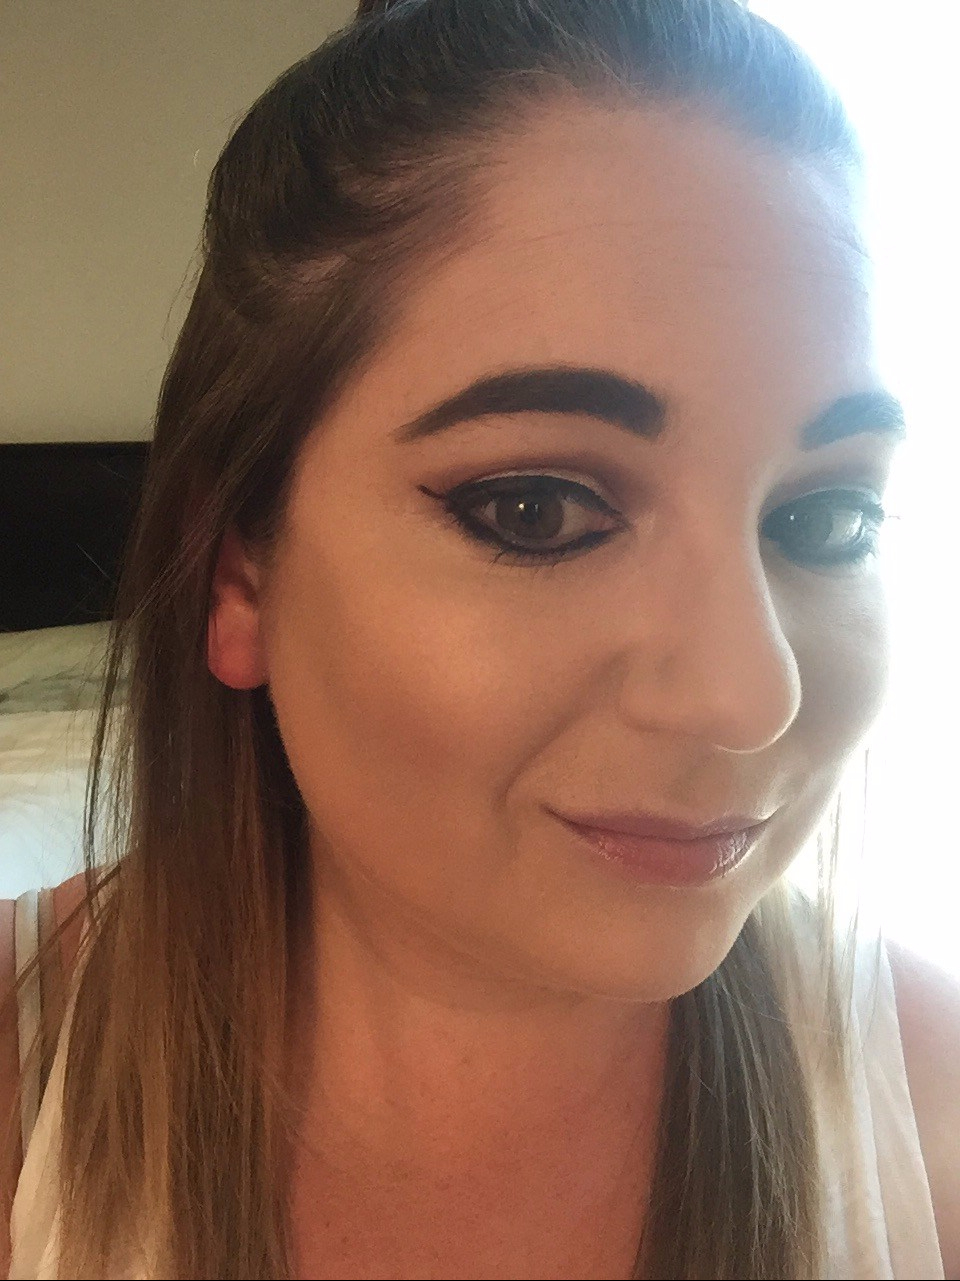
Next, I took the second to lightest concealer shade and applied it with my fingertips underneath my eyes in a triangle shape. I then used the third darkest contour shade and applied it underneath my cheekbone and blended with my fingertips. To create a little more depth, I applied Benefit Hoola Bronzer on top of the contour shade. Lastly, I applied the third darkest shimmery highlighter above the contour shade.

Lorac Pro Conceal/Contour Review

Drum roll please for the final product…

Lorac Pro Conceal/Contour Review

IMG_7322.JPG

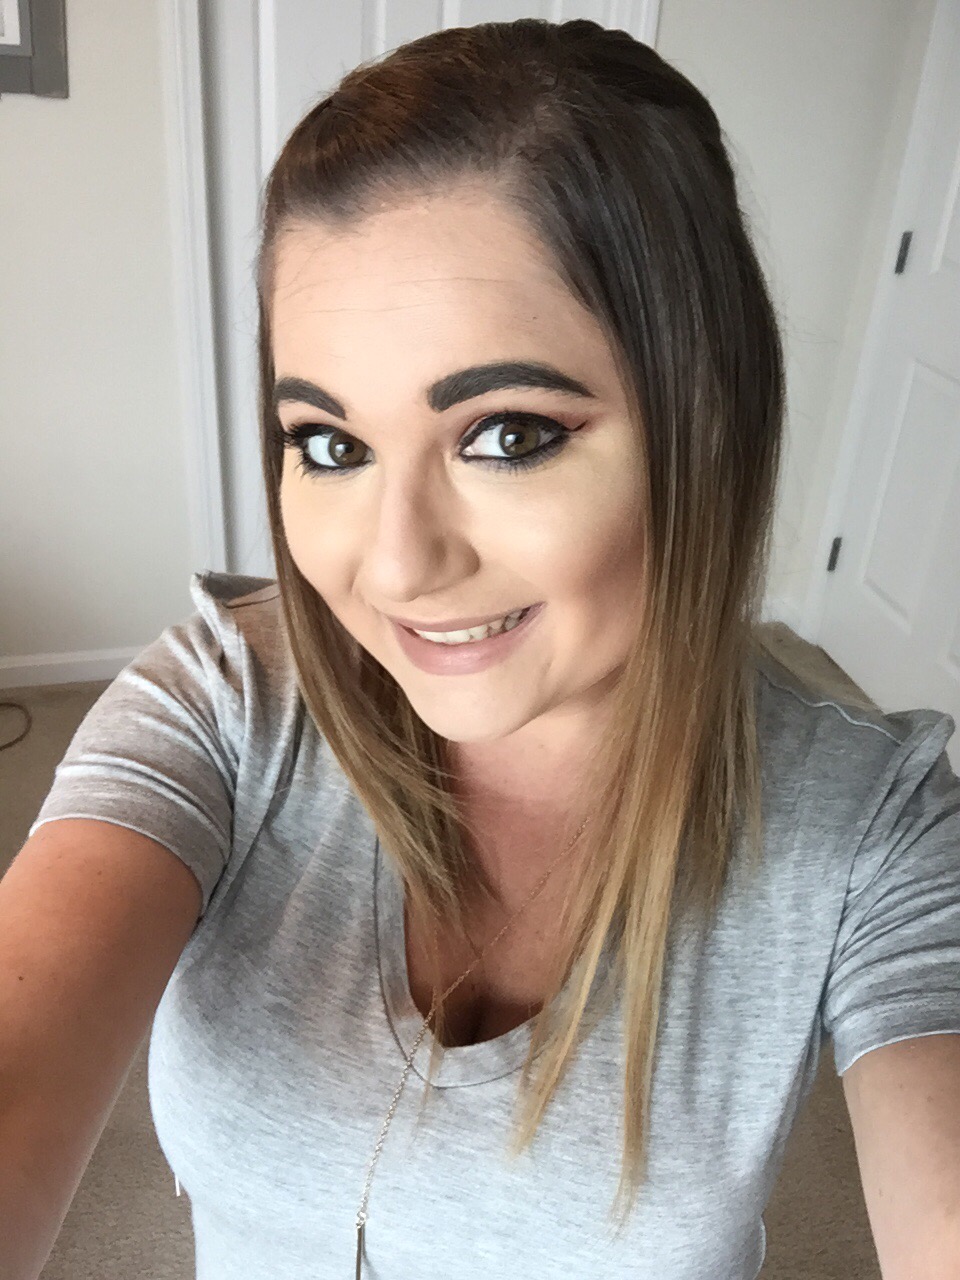
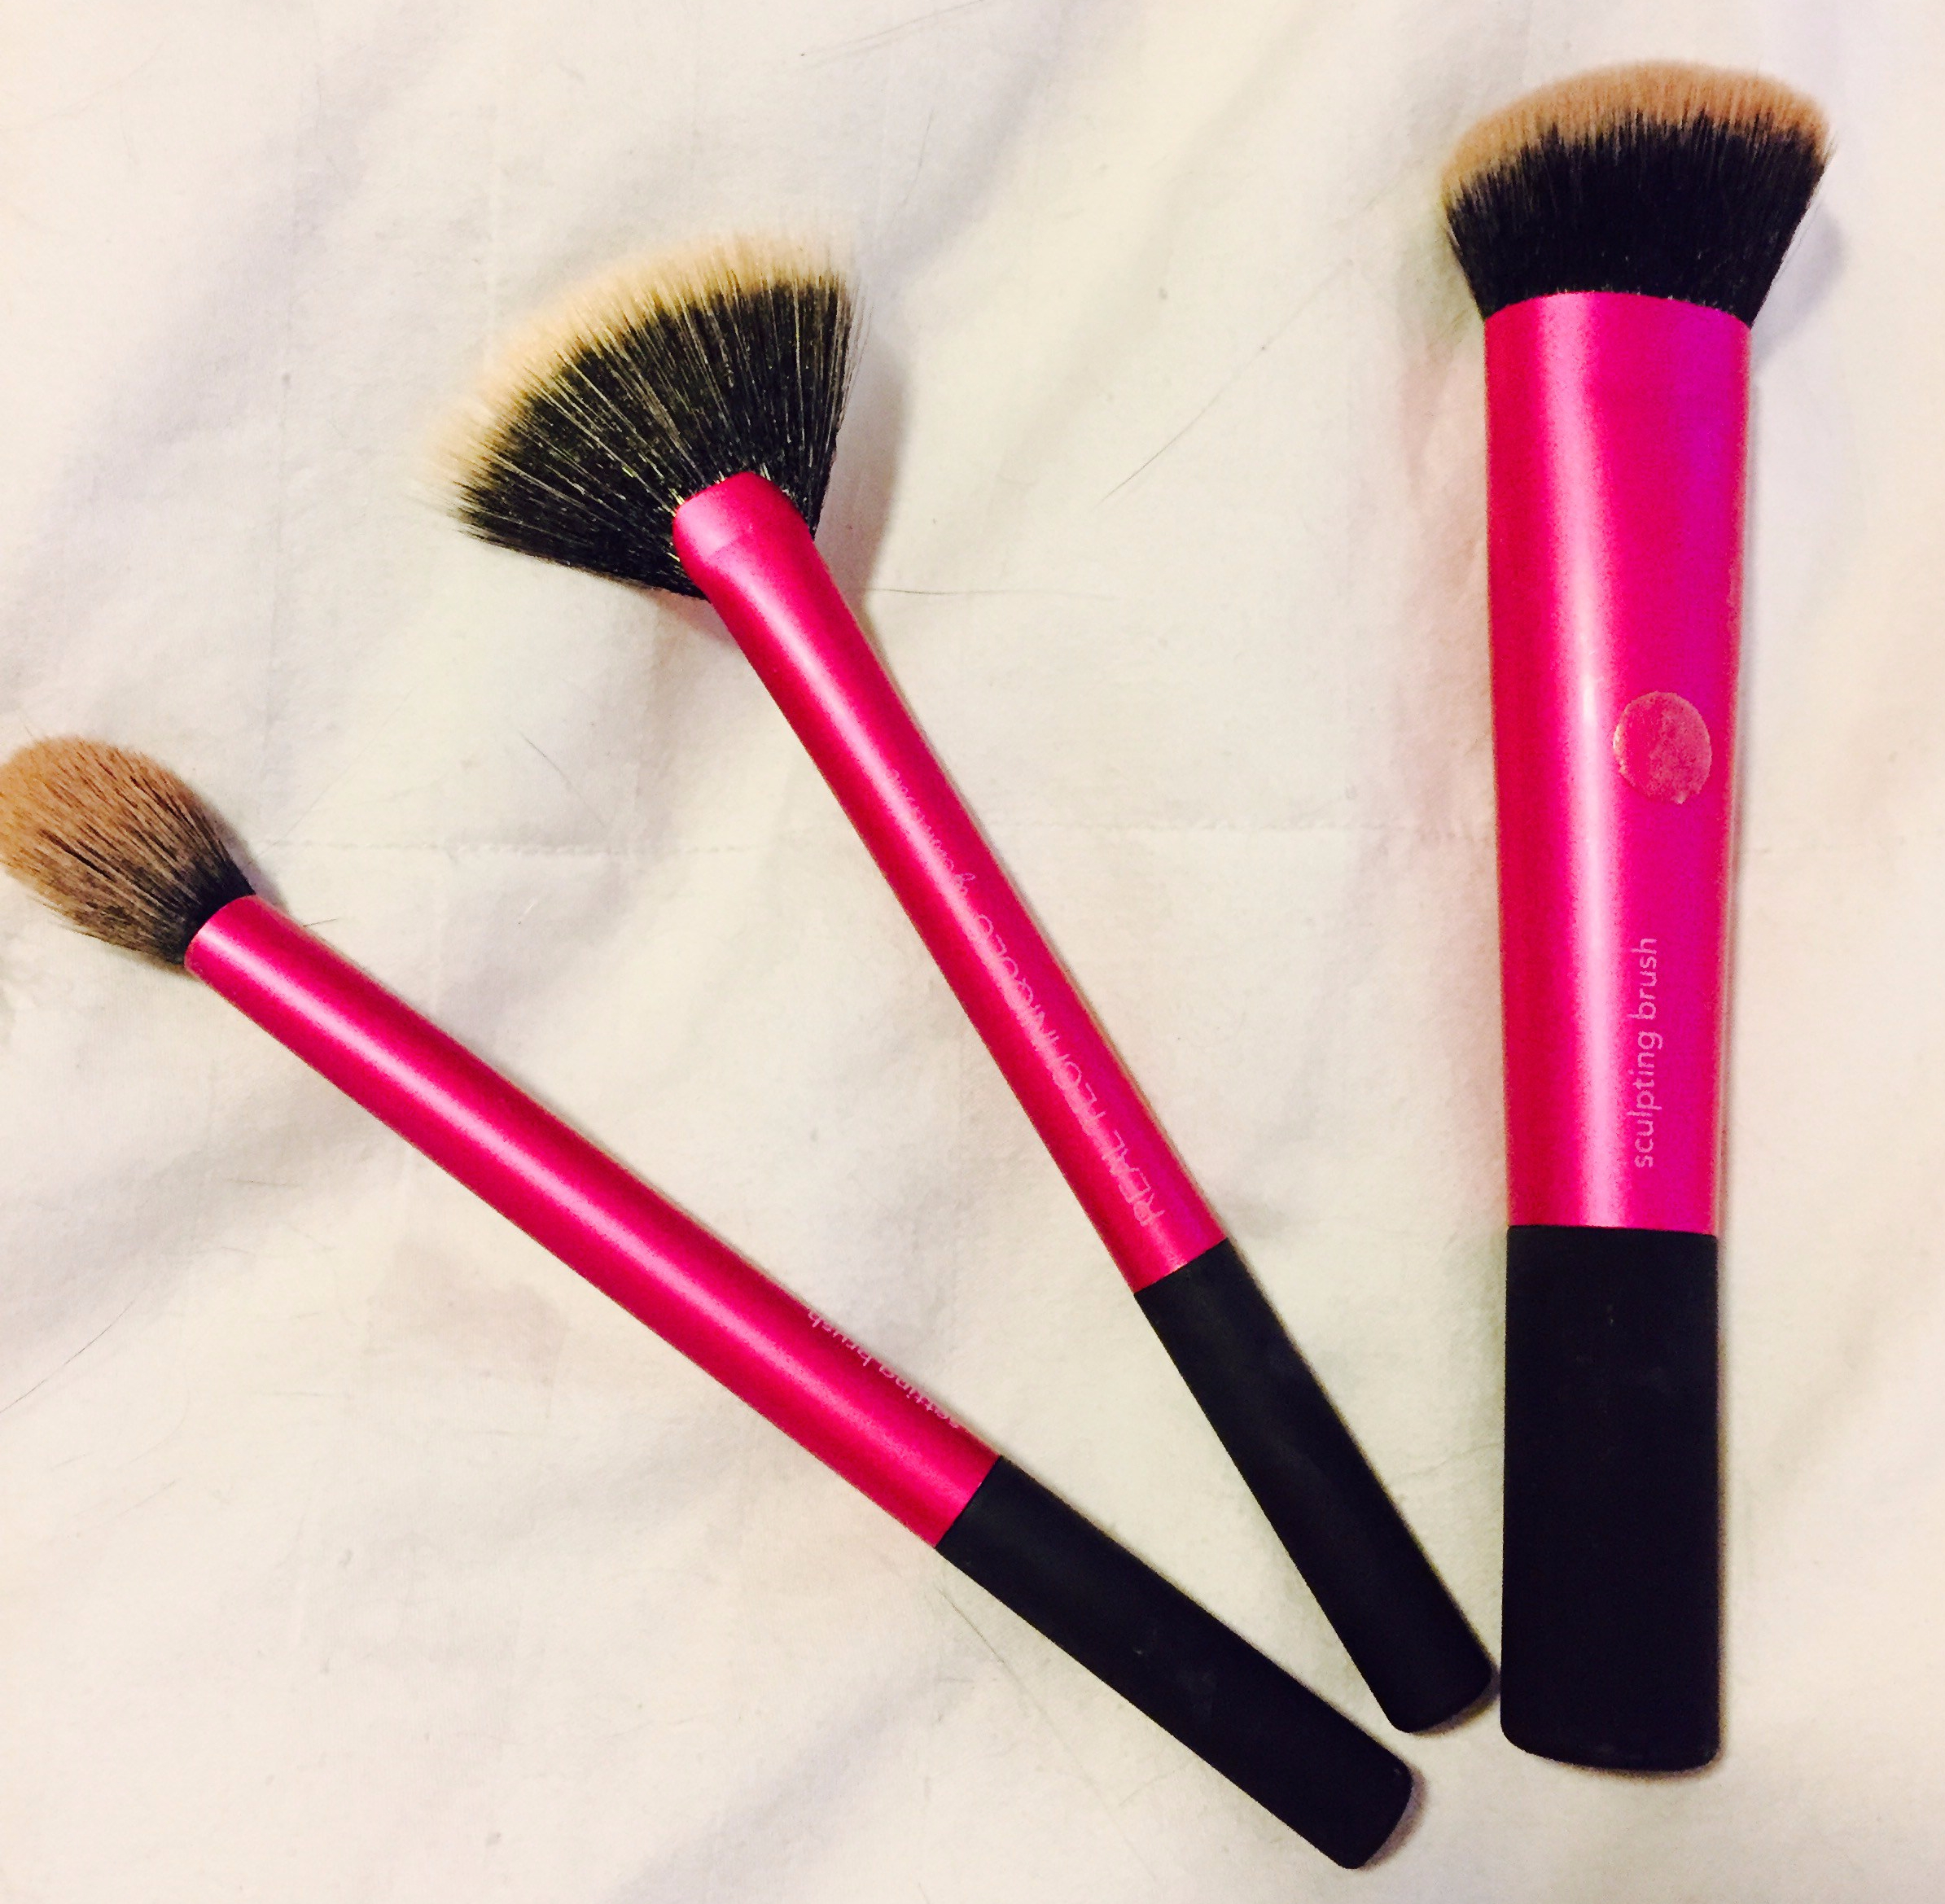
VERDICT: I actually really like this palette! The brush, however, is pretty useless. I think the product goes on much better with a fingertip application. The contour shades aren’t too dark so they are good for my skin tone. I definitely plan on purchasing this palette again and this time on purpose!

Does anyone else have this palette? What do you think?

Diana


urban decay naked heat palette review.png

I am obsessed with all things Naked. Get your minds out of the gutter people, I’m talking Urban Decay Naked palettes! When I saw they were releasing a summer palette, I knew there was no other option but to buy it and just “blame it on the deal.” First off, the packaging of this palette is be-autiful! I also love the brush that comes with it. I use it every time I use this palette and think it works really well for a “comes with a palette” brush.

Urban Decay Naked Heat Palette Review

Look how puuuurty the outside is! Hard to believe but the inside is even puuurtier!

IMG_7018-2.jpg

Review: I found this palette to include a great selection of colors for summer. I think it looks pretty good on my skin tone because I’m fair skinned but, it may not work as well for those with darker skin. I also found the shimmer shades to be highly pigmented. PRO TIP: apply concealer before you apply the shimmer shade (it really makes the color pop!)

Here’s a look I created with this palette.

Naked Heat Palette
Does anybody else have this palette? What do you think of it?

Diana

KKW Beauty Contour Sticks

As embarrassed as I am to admit it, I’m a huge reality show junkie and lover of the Kardashians. So, when Kim Kardashian (the contour queen herself) came out with makeup line featuring contour sticks, I knew I had to have it. Naturally, as any obsessed Kardashian junkie would do, I positioned myself at my computer at 12:00 on the dot to be one of the firsts to snag this contour kit. The kit retails for $48 + $8.95 shipping and although the shipping cost was a killer but I really didn’t find $48 unrealistic for a kit like this.

The kit came with two contour sticks. One stick has a darker contour shade and a lighter contour shade. The other stick has a matte highlighter and a shimmer highlighter. The kit also comes with a dual ended brush for blending. I’ve seen a lot of complaints over the packaging (which is just a bag) but I’m always more interested in what’s actually in the packaging than what’s on the outside.

KKW Beauty Contour Kit

KKW Beauty Contour Sticks

First, I took the lighter shade of the contour stick and applied it to my jawline, cheekbones, forehead, and a little on the corner of my nose.

IMG_6973.jpg

IMG_6976

I, then blended that in with the brush side of the dual ended brush that was included in the kit.

FullSizeRender (28).jpg

Next, I used the matte side of the highlighter stick and applied it down the bridge of my nose, chin, forehead, under my brow bone, and below the area where the contour shade was just applied. I then blended it all out.

IMG_6979

Lastly, I added the highlighter on top of my cheekbones and this was the final product:

IMG_6981
IMG_6980

VERDICT: I was actually pretty disappointed with this kit. I felt like it didn’t blend very well with the blender brush or  even when I tried with a beauty blender. These products also rubbed off a lot of my foundation while attempting to blend and exposed the redness under my foundation. Plus, to be quite honest, it didn’t look much different from when I was only wearing foundation.

What do you think? Has anyone else tried this kit?

Diana


FullSizeRender (17)I recently went to Ulta to buy my sister a birthday gift but ended up with a basket full of makeup for myself. #whoops.

First, let’s talk about the GOOD:

NYX Dual Ended Eyeliner – I have read many great reviews on NYX products being dupes for some high end brands, so I decided to give them a try. I found that the liquid eyeliner was comparable to Kat Von D’s Tattoo liner. At its $10 price tag, this eyeliner is definitely the better buy! However, the kohl liner just didn’t go on very smooth and I could barely get it to stick. Next time, I will just buy the liquid liner.

FullSizeRender (19)

NYX Concealer Wand – I also wanted to try this concealer because I’ve read a lot of good reviews. I liked this concealer but it takes a couple layers to be comparable to some of the higher end concealers. Overall, I thought it was good for the $4.99 price tag.

nyx

Real Techniques Brush Set – I was in need of a couple good and affordable brushes so I opted for this 3-pack that also came with a brush holder. Not gonna lie, the pink handles may have influenced my decision a little bit 🙂 I bought this set for $20 but found it cheaper at Target which is what I linked above. This set came with a sculpting brush, a fan brush, and a setting brush. The sculpting brush didn’t work too well but the fan brush and setting brush are pretty good. I’ve been using the fan brush for highlighter and think it does a good job of evenly displacing the product. I also found the setting brush good for putting powder in places like under my eyes and around my nose.

Real Techniques Brushes

Now, for the BAD:

Anastasia Beverly Hills Contour Stick (shade Mink) – I bought this because I saw a fellow blogger’s review and it looked really great. However, I think I’m waaaaayyyyy too pale for this shade and ended up lookin’ dirty. In all fairness I’m not sure what I was thinking buying this shade. I would give it another try in a lighter shade but sad to say this one is being returned.

FullSizeRender (18)
And the downright, UGLY:

Benefit Galifornia Blush – I also bought this product because I love Benefit and have been seeing some good reviews on this blush. The pictures I’ve seen show a sun on image on the blush but mine didn’t have that for some reason. I did find the packaging very cute and it smelled like a tropical vacation, BUT it made me look like a creepy clown. Not only did I look like a clown, it kind of looked like I had a rash. I decided that as much as I want to smell like a beach vacation, it’s not worth looking diseased and clownish. This was a big disappointment.

FullSizeRender (22).jpg

FullSizeRender (23).jpg

Does anybody else have any of this products? What do you think of them?

Diana